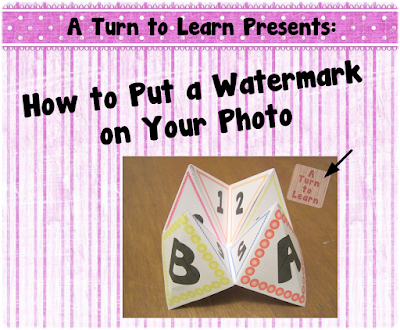
How to Put a Watermark on Your Photo
Thank you everyone for voting on the technology poll! This week, the winner was How to Put a Watermark on a Photo!!!

Again, more than half of you voted for this in the poll!

I included two versions of this tutorial. In light blue, you'll find directions on how to do everything right in GimpShop. Honestly, this is what I tend to do, as I'm pretty comfortable using the program. For those of you who feel overwhelmed by the Gimp interface, I included alternate directions (in a medium blue) which include a brief portion in Gimp, and the remainder of the tutorial in Gimp. They both have the same effect, so it's totally up to you!
Before I start the tutorial this focuses on how to use an image as a watermark. If you want to add text on your picture, click the picture below to check out my previous tutorial:
Now... onto the tutorial!


Now, for the tutorial that incorporates PowerPoint!


As far as next week's poll is concerned, I just came across a MAJOR find in PowerPoint... Do you remember my previous post on giving a picture a transparent background? Well... I just stumbled across a way to do this right in PowerPoint!!! So obviously that will be on next week's poll!

Again, more than half of you voted for this in the poll!

I included two versions of this tutorial. In light blue, you'll find directions on how to do everything right in GimpShop. Honestly, this is what I tend to do, as I'm pretty comfortable using the program. For those of you who feel overwhelmed by the Gimp interface, I included alternate directions (in a medium blue) which include a brief portion in Gimp, and the remainder of the tutorial in Gimp. They both have the same effect, so it's totally up to you!
Now... onto the tutorial!


Now, for the tutorial that incorporates PowerPoint!


You can download this tutorial as a PDF by clicking this picture!
Note: This tutorial is hosted on Google Docs. To save it from there, just open the file and click File > Download to save onto your computer!
If you want to grab the cootie catchers from the picture, click the picture below!
As far as next week's poll is concerned, I just came across a MAJOR find in PowerPoint... Do you remember my previous post on giving a picture a transparent background? Well... I just stumbled across a way to do this right in PowerPoint!!! So obviously that will be on next week's poll!


Comments
Post a Comment